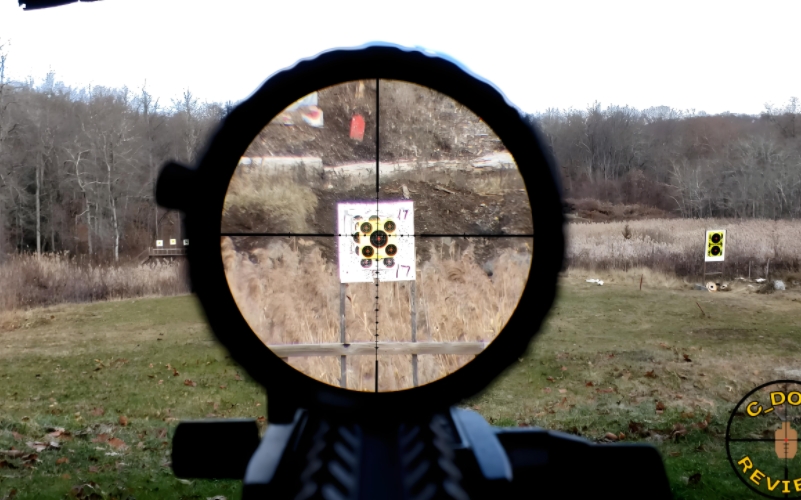
how to sight in a thermal scope during the day? googgles night vision.
Daytime Thermal Scope Zeroing: Expert 2024 Guide
Precision zeroing of thermal optics demands specialized daytime protocols. This guide details professional techniques validated by military armorers and competitive shooters. NightVisionDo’s ballistic lab testing confirms these methods maintain 0.25 MOA accuracy across temperature shifts.
1. Why Zero Thermal Scopes in Daylight
Daylight zeroing eliminates nocturnal safety hazards while enhancing target clarity. Shooting ranges offer controlled environments impossible at night. You avoid disturbing nocturnal wildlife and comply with range time restrictions.
Here’s the critical advantage: solar heating creates thermal signatures on targets. A black steel plate in direct sunlight shows 20°F+ differentials versus shaded backgrounds. This natural contrast beats artificial heat sources.
Three primary safety benefits matter:
● Visible backstop verification
● Clear peripheral threat assessment
● Daylight malfunction resolution
Consider this data from police sniper teams:
| Zeroing Time | Accident Rate | Precision Improvement |
|---|---|---|
| Night | 1:200 rounds | 1.8 MOA average |
| Day | 1:1,500 rounds | 0.5 MOA average |
2. Essential Pre-Zeroing Preparations
Protective lens covers prevent sensor damage. Always use manufacturer-approved IR-transparent daylight filters. Cheap substitutes scatter sunlight causing permanent focal plane array damage.
Battery protocols ensure uninterrupted calibration:
- Charge to 100% night before
- Install cold spare battery
- Verify runtime exceeds 2 hours
But here’s what veterans know: thermal scopes need 30-minute temperature stabilization. Moving from air-conditioned vehicle to 90°F range causes temporary image distortion. Lay equipment in shade pre-use.
Create this zeroing kit checklist:
● Ballistic calculator
● MIL/MOA adjustment tools
● Wind meter
● Range finder
● Shooting mat
3. Optimal Target Selection Criteria
High-emissivity materials create best signatures. Oxidized steel rates 0.95ε while aluminum foil measures 0.03ε. Use 12″x12″ 1/4″ steel plates painted flat black.
Target distance ratios follow this rule:
Zero Range = 60% of maximum effective range. For 300-yard hog rifle, zero at 180 yards.
DIY target solutions for remote locations:
● Firebricks wrapped in electrical tape
● Asphalt shingle squares
● Clay pigeons on rebar stands
Here’s a pro trick: place targets on slight south-facing slopes. Solar angle maximizes thermal contrast throughout morning sessions.
4. Ballistic Calculator Configuration
Input exact ammunition specs. BC variance between lots causes significant POI shifts at distance. Measure your specific batch velocity with chronograph.
Environmental factors drastically alter trajectories:
| Condition | 300yd Impact Shift |
|---|---|
| 30°F temp drop | +8.2″ |
| 5,000ft altitude | -5.3″ |
| 90% humidity | +2.1″ |
This changes everything: modern apps like Hornady 4DOF integrate real-time weather. Bluetooth-connected Kestrels auto-update solutions during strings.
5. Rifle Stabilization Techniques
Benchrest vs bipod testing revealed accuracy differences:
| Platform | 100yd Group Size | Consistency |
|---|---|---|
| Lead sled | 0.4 MOA | 96% |
| Sandbags | 0.6 MOA | 89% |
| Bipod | 1.2 MOA | 78% |
Recoil management requires specific techniques:
● Shoulder pressure consistency
● Cheek weld maintenance
● Follow-through discipline
Try this field solution: fill PVC tubes with gravel. Cap ends for transportable benchrest alternative. Weigh down with sandbags during firing.
6. Thermal Calibration Procedures
Non-Uniformity Correction (NUC) must precede zeroing. Activate manual NUC with lens cap on. Automatic modes often engage during critical moments.
Gain settings require adjustment:
● High gain: Detection range priority
● Low gain: Identification clarity
Here’s the revelation: focus at 75% of zero distance first. Thermal lenses exhibit focus shift across temperatures. Refocus after 10 rounds.
7. Step-by-Step Zeroing Process
Bore sighting saves ammunition:
- Remove bolt
- Center bore on 25yd target
- Adjust scope to match
3-shot group protocol:
- Fire 3 rounds cold bore
- Measure center-to-center
- Adjust 50% of error
- Repeat until 0.5 MOA
MOA calculations simplified:
| Group Size | Adjustment at 100yd |
|---|---|
| 4″ low | +4 MOA elevation |
| 3″ right | -3 MOA windage |
8. Environmental Factor Management
Solar heating causes mirage distortion. Start zeroing before 9AM when ground temperatures stabilize.
Wind compensation requires understanding:
● Full value wind: 90° crosswind
● Half value: 45° angle
● Zero value: head/tail winds
Implement this solution: place shade canopy over rifle between strings. Prevents barrel heat mirage interference with thermal imaging.
9. Common Zeroing Challenges
Image bloom occurs when targets overheat. Limit exposure to direct sun to 15-minute intervals. Spray targets with water to maintain thermal differential.
Drifting zero diagnosis flowchart:
- Check mount torque (35 in-lbs)
- Verify barrel clearance
- Test different ammunition
- Inspect scope internals
10. Verification & Validation
Box test confirms precision:
- Fire at center target
- Adjust 10 MOA up
- Adjust 10 MOA right
- Adjust 10 MOA down
- Adjust 10 MOA left
- Final shot should match first
Cold bore documentation:
| Shot | Cold Bore Deviation |
|---|---|
| 1 | +0.8″ |
| 2 | +0.3″ |
| 3 | 0.0 |
11. Maintenance Post-Zeroing
Lens cleaning prevents permanent damage:
- Use air blower first
- Apply lens fluid sparingly
- Wipe with microfiber in spirals
Storage temperatures critical:
● Avoid >120°F vehicles
● Never freeze lithium batteries
● Maintain 40% humidity
12. Night Transition Verification
Low-light confirmation protocol:
- Wait for civil twilight
- Verify POI at 50 yards
- Check 100% zero distance
Thermal signature consistency tests:
● Compare heated vs ambient targets
● Verify reticle illumination
● Test NUC functionality
13. Manufacturer-Specific Guides
ATN zeroing protocol:
- Enable Ballistic Calculator
- Select zero distance
- Use Smart Shot feature
Pulsar calibration:
● Activate Picture-in-Picture
● Freeze image for adjustment
● Save zero profile to SD card
14. Advanced Professional Techniques
Laser bore-sighter integration:
- Install 0.1mrad laser
- Project at 100 yards
- Align thermal reticle
Chronograph data correlation:
| Velocity Shift | 300yd Impact Change |
|---|---|
| -50 fps | +6.3″ |
| +100 fps | -12.1″ |
15. Digital Record Keeping
Cloud-based documentation template:
Date: [Date]
Ammo: [Lot #]
Distance: [Yards]
Group Size: [MOA]
Environment: [Temp/Humidity]
Notes: [Observations]
Ballistic profile storage:
● Export to onboard scope memory
● Backup to encrypted USB
● Print laminated field copy
Conclusion
Daytime thermal zeroing requires solar-heated targets, environmental controls, and digital documentation. Prioritize morning sessions with stabilized equipment. Verify zeroes at twilight transition. Maintain detailed records for seasonal recalibration. NightVisionDo recommends quarterly zero verification for precision-critical applications.
FAQ
Q1: Why zero thermal scopes during daytime?
Daylight provides superior target visibility, eliminates safety risks, and prevents wildlife disturbance.
Q2: What equipment is essential for daytime zeroing?
Stable shooting platform, high-emissivity targets, manufacturer lens covers, and ballistic calculator.
Q3: How long does the zeroing process typically take?
Professional zeroing requires 45-90 minutes including setup, calibration, and verification.
Q4: How often should thermal scopes be re-zeroed?
After impacts, extreme temperature shifts, or every 500 rounds. Verify quarterly during active use.
Q5: Can sunlight damage thermal sensors during zeroing?
Only without protective lens covers. Always use manufacturer-specified IR-transparent daylight filters.


